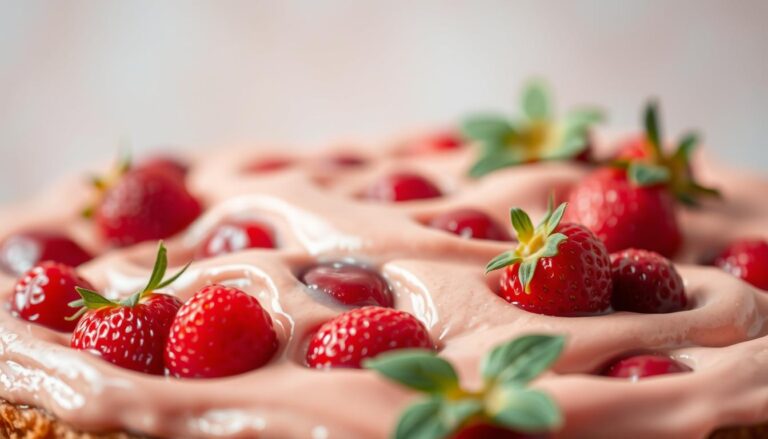
How to Make Delicious Strawberry Filling for Cakes
Every baker knows the magic of a cake with strawberry filling. Those vibrant red layers promise sweet, tangy delight. Making your own strawberry filling is more than a recipe—it’s a culinary adventure.
Learning to make strawberry filling is easier than you think. With a few simple ingredients and some creativity, you can make a cake that everyone will love. It’s perfect for birthdays or weekend treats.
Imagine spreading a rich, glossy strawberry filling between cake layers. It’s a combination that speaks to the heart of home baking. This guide will show you how to make the perfect strawberry filling.
Table of Contents
Essential Ingredients for Perfect Strawberry Filling
To make a delicious strawberry filling for vanilla and strawberry cake, picking the right ingredients is key. The right mix can turn your dessert into something truly special. It will make every bite a joy for your taste buds.
Fresh vs Frozen Strawberries: Making the Right Choice
Choosing the right strawberries is important for your strawberry filling. Fresh strawberries give a burst of flavor and sweetness. Frozen berries, on the other hand, are easy to find and keep their texture well.
- Fresh strawberries: Peak ripeness, intense flavor
- Frozen strawberries: Year-round availability, consistent quality
Selecting Quality Ingredients
The quality of your ingredients will make or break your strawberry filling. Choose strawberries that are bright red and firm. Avoid any with bruises or soft spots. Organic berries are often the best choice for a richer taste in your vanilla and strawberry cake.
Understanding Thickening Agents
Thickening agents are key to getting the right filling consistency. Cornstarch is great for turning fruit into a smooth, spreadable filling. It keeps your filling from dripping off your cake layers.
| Thickening Agent | Best Used For | Quantity Recommendation |
|---|---|---|
| Cornstarch | Fruit fillings | 1-2 tablespoons per cup of fruit |
| Pectin | Jam-like consistency | Follow package instructions |
| Gelatin | Smooth, stable fillings | 1 packet per 2 cups of fruit |
With these tips on ingredients and techniques, you’ll make a strawberry filling that takes your vanilla cake to the next level. It will be a dessert fit for a pro.
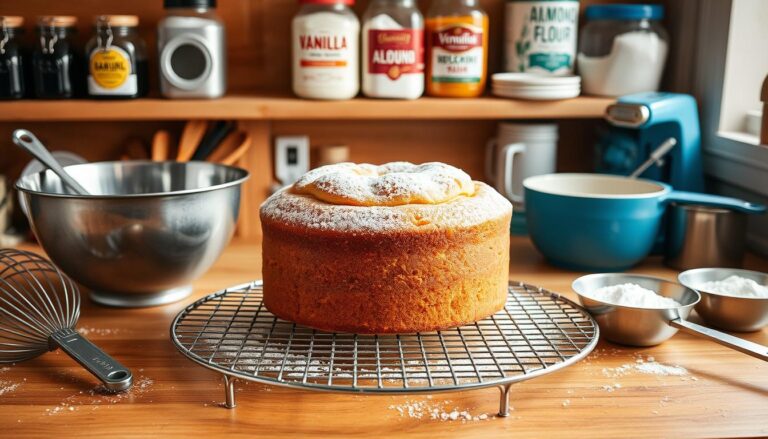
Kitchen Tools and Equipment Needed
Learning to make strawberry filling for cakes is easier with the right tools. Luckily, you probably have most of what you need in your kitchen already.
- Medium-sized saucepan with thick bottom
- Potato masher or wooden spoon
- Measuring cups and spoons
- Sharp kitchen knife
- Cutting board
Your saucepan is key when making strawberry filling. A thick-bottomed pan spreads heat evenly. This prevents burning and keeps the flavor delicate.
| Tool | Purpose | Recommended Type |
|---|---|---|
| Saucepan | Cooking strawberry mixture | 3-4 quart, stainless steel |
| Potato Masher | Creating texture | Stainless steel or silicone |
| Measuring Cups | Ingredient accuracy | Clear glass or stainless steel |
For a smoother filling, consider using a food processor. It makes the filling more even and less chunky.
Most home bakers already have these tools. With the right equipment, making strawberry filling is simple and fun.
Preparing Fresh Strawberries for Your Cake Filling
Creating the perfect cake with strawberry filling starts with selecting and preparing the most delicious strawberries. Your filling’s success depends on careful preparation and attention to detail.
Before you begin making your white cake with strawberry filling, you’ll need to transform those bright red berries into a delectable filling. The preparation process is key for the best flavor and texture.
Washing Your Strawberries
Proper cleaning is essential for removing dirt and pesticides. Follow these steps:
- Rinse strawberries gently under cool running water
- Avoid soaking berries to prevent waterlogging
- Pat dry with clean paper towels
Hulling Techniques
Removing the stems efficiently helps create a smooth strawberry filling:
- Use a small paring knife or strawberry huller
- Cut around the green stem in a circular motion
- Remove the entire stem without losing too much fruit
Cutting and Measuring Tips
The way you cut strawberries impacts your cake with strawberry filling:
- Quarter smaller berries for intense flavor
- Chop larger berries into bite-sized pieces
- Aim for consistent piece sizes for even distribution
“Perfect strawberry filling begins with perfect preparation” – Pastry Chefs Worldwide
Pro tip: Weigh your strawberries instead of using volume measurements for more accurate results in your white cake with strawberry filling.
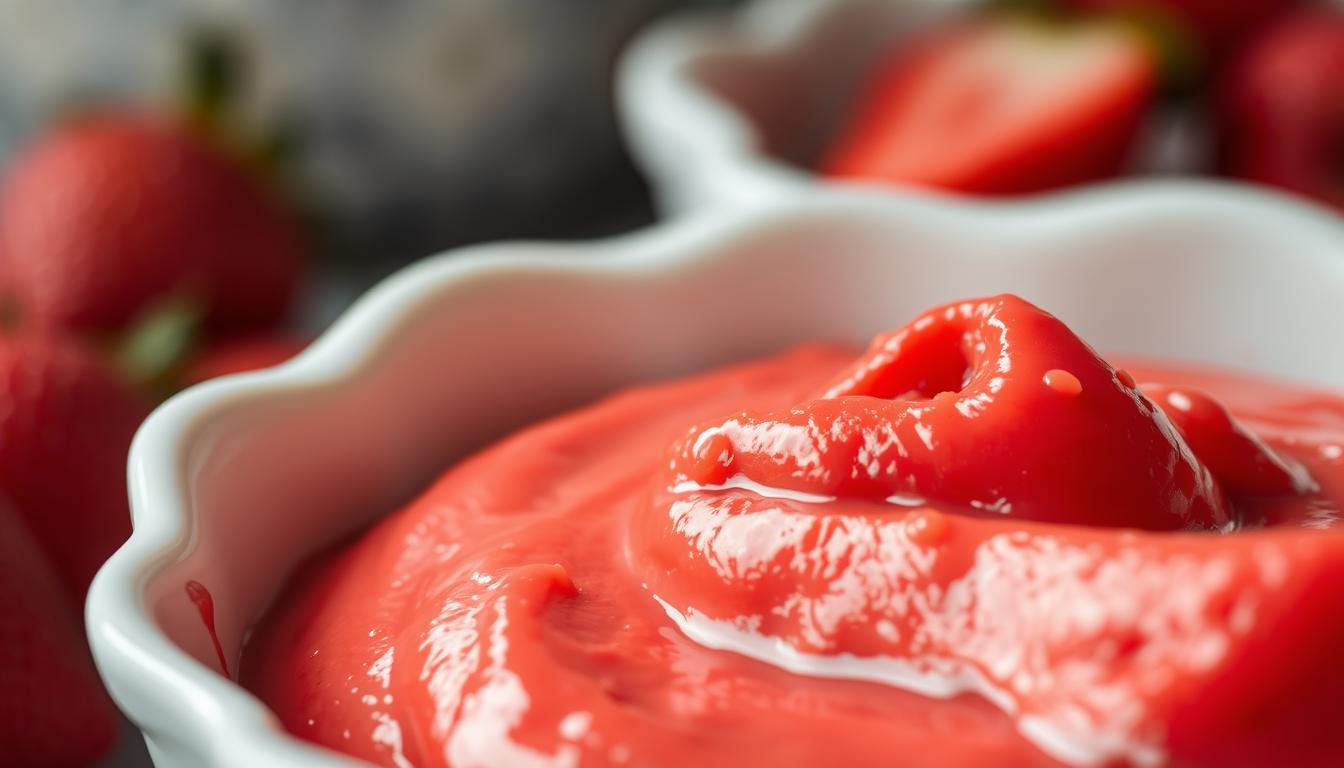
Step-by-Step Cooking Process

Making strawberry filling for cakes needs careful steps. The right method turns fresh strawberries into a tasty cake filling. This will make your dessert even better.
First, gather your strawberries and other ingredients in a medium saucepan. This step is key for a cake filling that’s full of natural flavor.
- Combine strawberries, sugar, and cornstarch in the pan
- Heat the mixture over medium-low temperature
- Stir constantly to prevent burning
- Watch for the filling to thicken and become glossy
As you cook the filling, it will change. Patience is key. Keep a gentle simmer and stir often. You want a smooth filling that’s not too runny for your cake.
Experts say to cook the filling for about 25-30 minutes. In this time, the strawberries will break down. This releases their natural pectin and makes a rich flavor for your cake.
Once cooked, take the pan off the heat and let it cool. This lets the filling set and get the right consistency for layering in your cake.
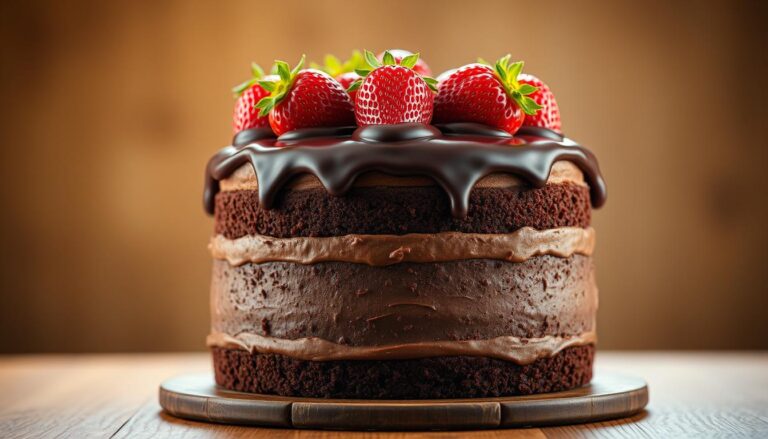
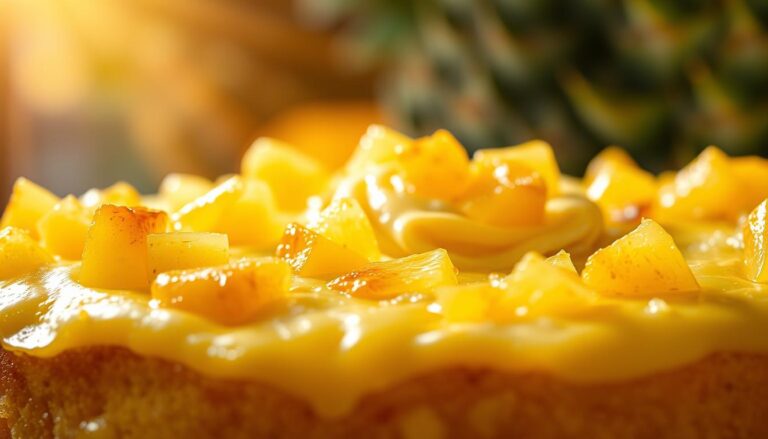
How to Make Cake with Strawberry Filling
Making a vanilla and strawberry cake is an art. It combines delicate flavors and precise techniques. Your white cake with strawberry filling will be a showstopper when you master the assembly. The key is to approach each step with care and attention to detail.
Before you start assembling your cake, make sure your strawberry filling is completely cooled. Warm filling can cause your cake layers to slide or become soggy. This can ruin the entire dessert.
Mastering Layering Techniques
To achieve perfect layers, follow these essential steps:
- Level your cake layers to create an even surface
- Create a frosting dam around the edge of each layer
- Spread strawberry filling evenly within the frosting barrier
- Gently press the next cake layer on top
Temperature Considerations for Perfect Assembly
Temperature is key in cake assembly. Your cake layers should be:
- Completely cooled to room temperature
- Firm enough to handle without breaking
- Chilled slightly for easier manipulation
Pro tip: Refrigerate your cake layers for 30 minutes before filling. This makes them more stable. It’s a technique that works wonders for creating a professional-looking vanilla and strawberry cake. It will impress your guests.
Storage Tips and Shelf Life

Keeping your cake with strawberry filling fresh is key. The right storage keeps it tasting great and safe to eat. This ensures your homemade treat stays delicious.
Here are the must-know storage tips:
- Cool the filling completely before storage
- Use airtight containers to prevent moisture and contamination
- Refrigerate immediately after preparation
Your strawberry cake filling can stay fresh in the fridge for up to five days. Freezing is another great way to keep it longer. Just remember to:
- Transfer filling to a freezer-safe container
- Leave some space at the top for expansion
- Label with the date of preparation
- Freeze for up to three months
Always check for spoilage before using your filling. Look out for:
- Unusual odors
- Mold growth
- Significant texture changes
When you’re ready to use frozen filling, thaw it in the fridge overnight. Stir it gently to get back its smooth texture. Then, you can use it in your cake.
Troubleshooting Common Issues
Learning to make strawberry filling for cakes can have its challenges. But, most problems are simple to fix with the right steps and patience.
Fixing Runny Filling
A runny strawberry filling can mess up your cake. To solve this, it’s important to know why it happens. Usually, it’s because:
- The filling didn’t cook long enough
- There’s too much liquid in the mix
- The thickening agents are not balanced right
To fix a runny filling, try these tips:
- Cook the mix on low heat for longer
- Add a cornstarch slurry to thicken it
- Use more pectin or gelatin
Preventing Berry Discoloration
It’s key to keep your strawberry filling bright and fresh for a great-looking cake. Strawberries can turn brown or lose their color if not handled right.
To avoid discoloration, do these:
- Add a bit of lemon juice
- Store the filling in a tight container
- Keep it cool
Pro tip: Work fast and avoid letting the filling sit in the air to keep its color.
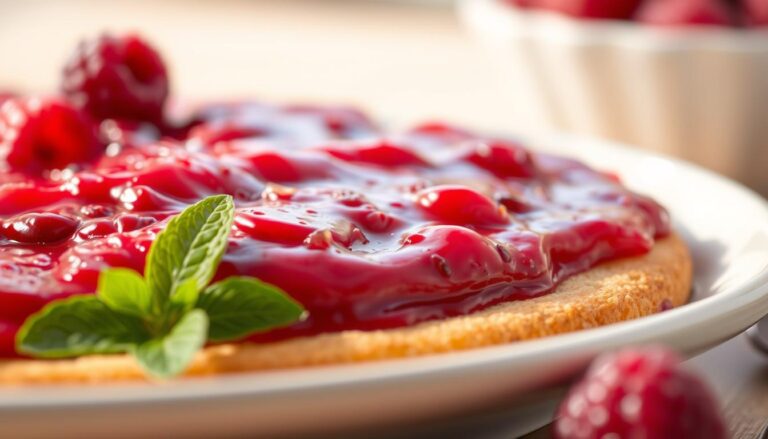
Creative Ways to Use Strawberry Filling
Strawberry filling is more than just for cakes. It’s a versatile sweet spread that can transform your dishes. Explore these exciting ways to use it.
Start your day with a burst of flavor. Add strawberry filling to your breakfast. Here are some tasty ideas:
- Swirl it into Greek yogurt for a bright start
- Spread on warm pancakes or waffles
- Top French toast with it
- Mix into overnight oats for sweetness
Pastries can get a delicious makeover with strawberry filling. Try these ideas:
- Filling Danish pastries
- Topping cheesecake slices
- Creating fruit turnovers
- Layering between crepes
“Creativity in the kitchen knows no bounds when you have a delicious strawberry filling!” – Pastry Chef
Use strawberry filling in unexpected ways. It’s great for:
- Homemade ice cream swirls
- Smoothie flavor enhancer
- Scone or toast spread
- Cocktail and mocktail garnish
Don’t be afraid to try new things. Discover your own creative uses for strawberry filling!
Conclusion
Making a tasty cake with strawberry filling is simpler than you might think. Just follow the steps and tips in this guide. You can turn a simple dessert into a special treat. Whether it’s for a vanilla cake or trying new flavors, homemade filling always wins.
The joy of making your own strawberry filling is its ease and flexibility. You control the ingredients for a fresh, vibrant taste. With basic tools and quality strawberries, you can make a filling that wows everyone.
Your baking will improve as you get better at making strawberry cake filling. Feel free to try new things, adjust sweetness, and make it your own. Each time, you’ll get better and more confident in the kitchen.
We encourage you to share your strawberry filling stories. Did you try something new? Face any challenges? Your stories can help and inspire other bakers. Start making desserts that everyone will love and ask for the recipe.
One Comment